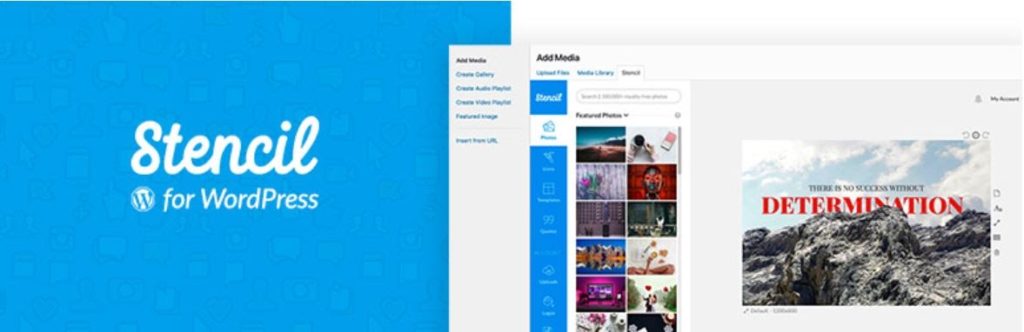
As a business owner, using visuals can be an effective way to grab your audience’s attention. However, you might have little time (and patience) for creating and editing images. This is especially true for your website. We provided some guidance on website image in How to Resize Images for a Website Like a Pro. One of the tools we mentioned was Stencil (affiliate link). What makes Stencil even more useful is its powerful WordPress plugin. It helps you create stunning website images in no time without leaving the Media Library. Moreover, it lets you personalize these images with text, icons, and other features.
In this post, we’ll take a closer look at Stencil and its benefits. Then we’ll show you how to create website images with this helpful tool. You can also watch the video. Let’s get started!
Why You Might Want to Use Stencil
Designing images for your website can be time-consuming. While you could hire a professional graphic designer to help you out, this might not be a feasible solution for small business owners.
Stencil and the Stencil WordPress plugin are designed for people who want to create impactful images without any hassle.
Besides being user-friendly, Stencil also comes with a large selection of royalty-free photos (over 5,000,000!) and pre-made templates. It also offers thousands of icons and quotes that you can place over your images for added effect.
Don’t Leave Empty Handed!
Get Digital Tips & Tricks Delivered to Your Inbox
We will never share your email address.
While Stencil has all the resources you need to create unique images for your website, you can also use it for other purposes. For example, you can easily create graphics for your social media marketing. You simply choose a template and tweak it so that it meets your needs.
You can get started with Stencil for free. However, you’ll be a bit limited when it comes to using photos and elements such as icons and templates.
Fortunately, the premium version (affiliate link) is quite affordable. The Pro plan starts at $9 per month and grants you access to a broader range of features, while the Unlimited plan costs $12 per month.
How to Create Website Images With Stencil (In 3 Steps)
Let’s look at how you can use Stencil to create beautiful images for your website and social media pages.
1. Editing Your Images
Once you’ve installed the plugin and activated it, head to the page or post where you want to add your new image. Stencil lets you create your images without having to leave the page you’re working on.
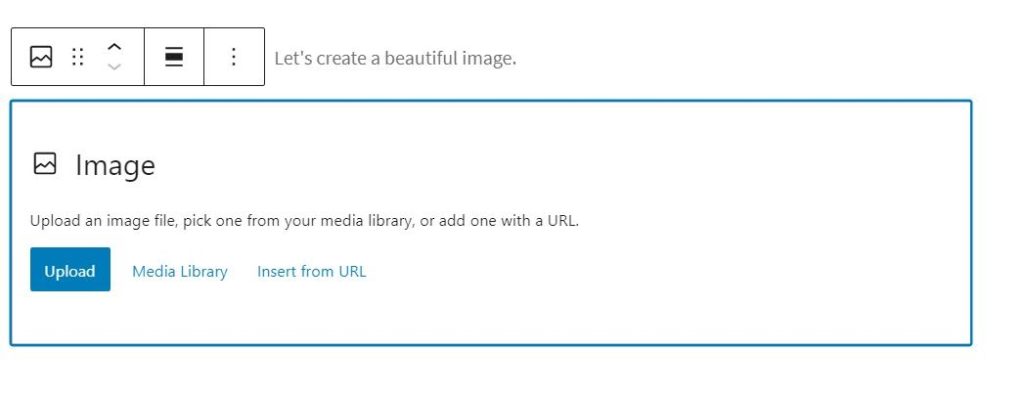
To get started, you can add an image block to your post and click on Media Library:
In the window that appears, select the Stencil tab:
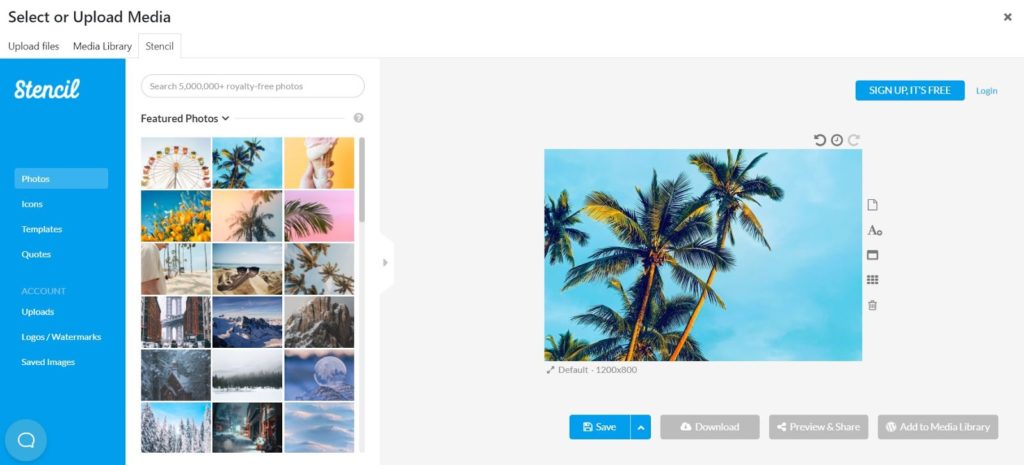
Start by selecting an image. If you’re looking for something specific, you can use the search bar at the top.
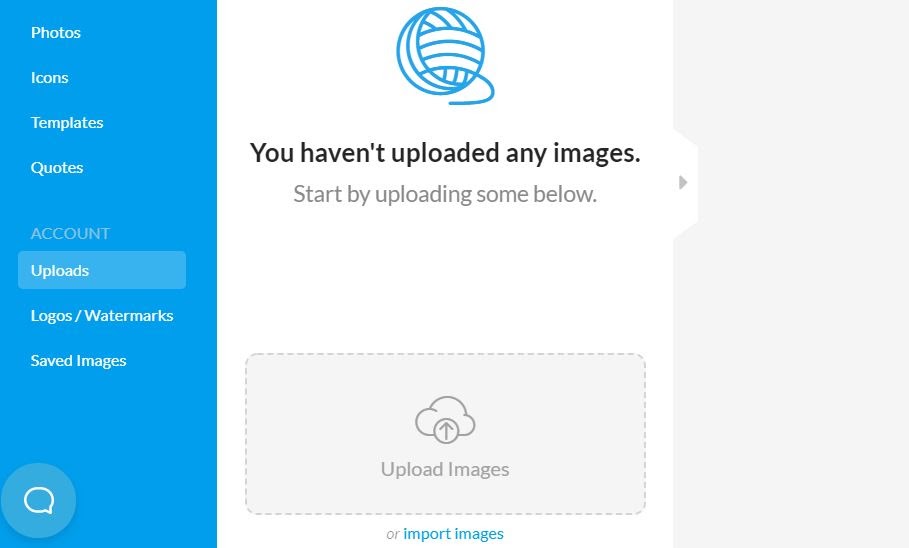
Alternatively, you can upload your own image by clicking on the Uploads option in the side menu:
Stencil places your photos into a default canvas. If you want to resize your image, you can click on Default underneath the image. You will now get the option to use a different preset or create your own:
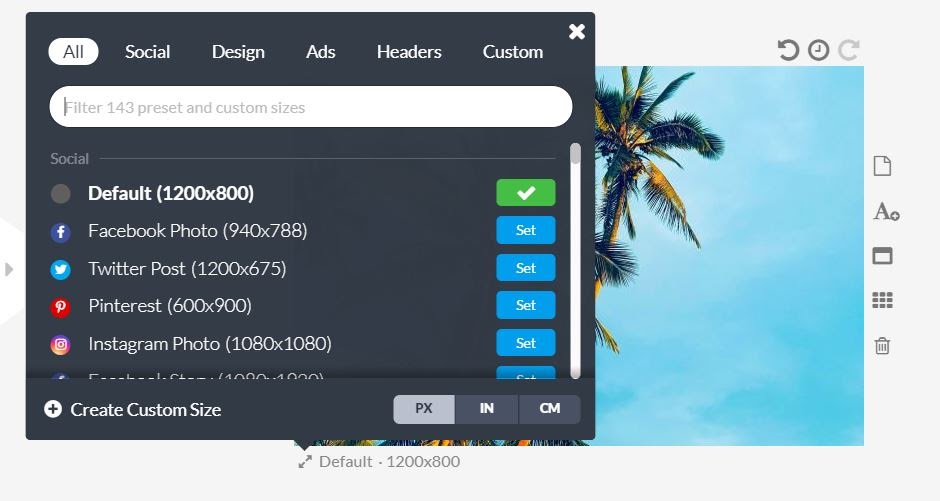
As you can see, there are presets for different purposes. For instance, you can design a graphic for Pinterest, create a featured image for your blog post, or work on a header for your page.
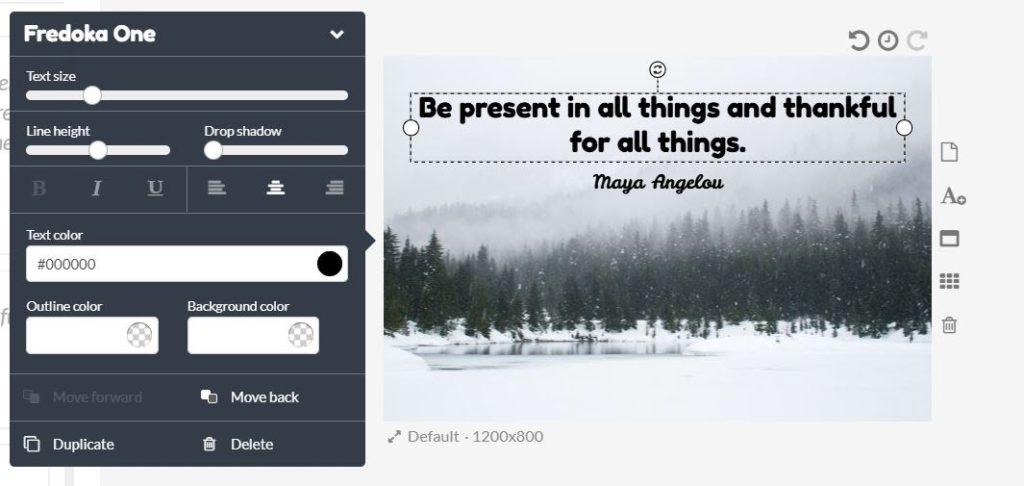
Once you’ve chosen your preset or a custom image size, you can start adding elements to your image. To add text, simply click on the A icon on the right:
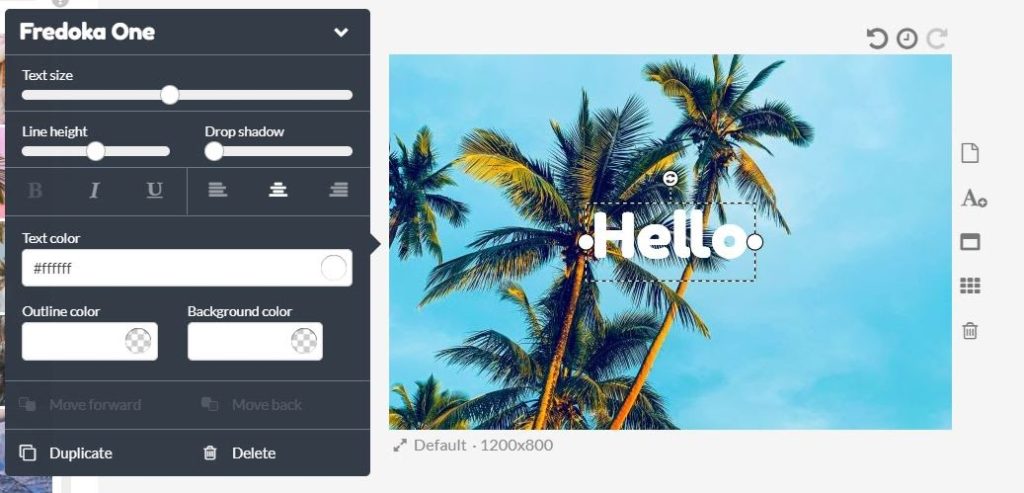
Then you can type in your message and modify your text. For instance, you can change the font and color, or make your text more prominent by adding an outline or shadow.
When you’re happy with your image, click on the Save button. You also have the option to download it to your computer. If you want to insert it into your post, click on Add to Media Library. You can then access your image from the library and add it to your page.
2. How to Create Website Images With Pizazz
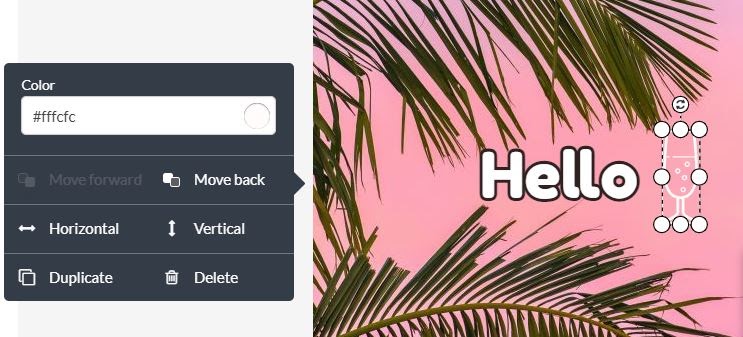
If you’d like to spice up your image, you can add a few icons to it. To do this, select Icons in the side menu and click on the elements you want to use:

Once you add an icon to an image, you’ll be able to change its design:
Stencil also lets you add inspirational quotes to your images. To do so, simply head to Quotes and click on your chosen text:
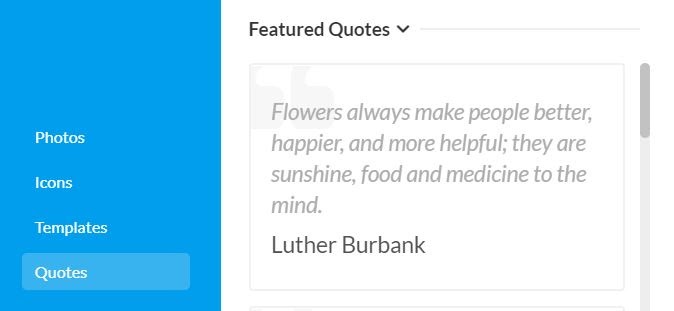
You can then change the formatting of the quote and move it around on your image:
If you decide to turn this into a different graphic, such as an Instagram post, you can click on Default and select your preference. The image will adjust accordingly.
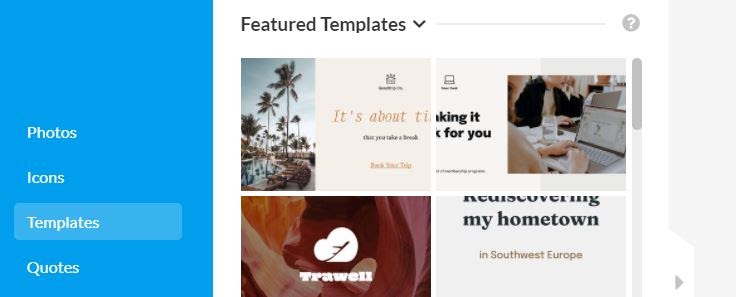
3. Using Templates
If you don’t have enough time to design your own image, or you aren’t confident in your design skills, you can use a template instead. To access Stencil’s vast collection of designs, you can navigate to Templates and select the one you want:
You will then be able to tweak the template. For example, you can edit the photo:
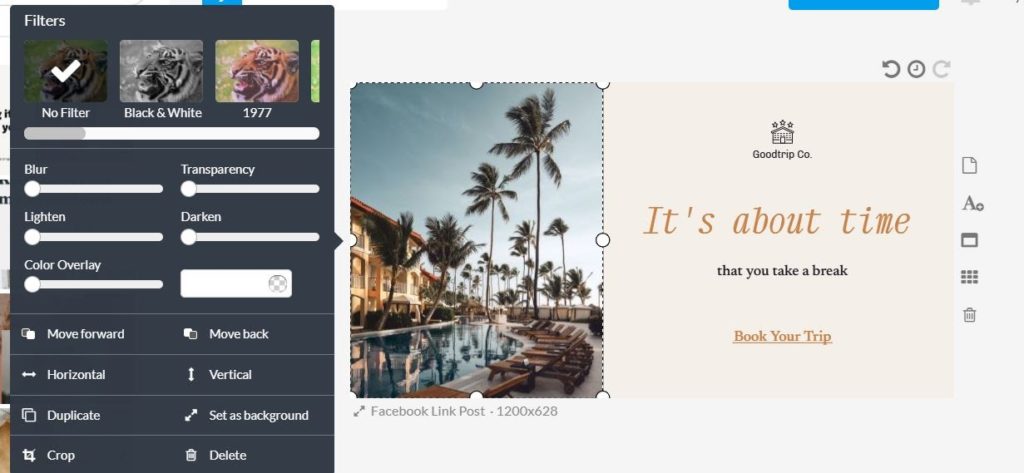
Similarly, you can click on the text to change it. If you want to rearrange the elements on the template, you just have to click on them and drag them around. Remember to save your changes when you’re finished.
How to Create Website Images – Conclusion
The Stencil plugin enables you to easily and quickly create website images from your posts and pages. You will need a Stencil account (affiliate), either a free account or the reasonably priced paid account. In addition to creating website graphics, you can also use it to design stunning graphics for social media, such as Instagram posts and Pins for Pinterest. Moreover, you can put together content for your marketing campaigns, such as posters and headers.
Do you have any questions about using Stencil to create website images? Let us know in the comments section below!
Author: James Hipkin
Since 2010, James Hipkin has built his clients’ businesses with digital marketing. Today, James is passionate about websites and helping the rest of us understand online marketing. His customers value his jargon-free, common-sense approach. “James explains the ins and outs of digital marketing in ways that make sense.”
Use this link to book a meeting time with James.